Note: This feature is in the process of being gradually released to all monday CRM customers.
What does the integration do?
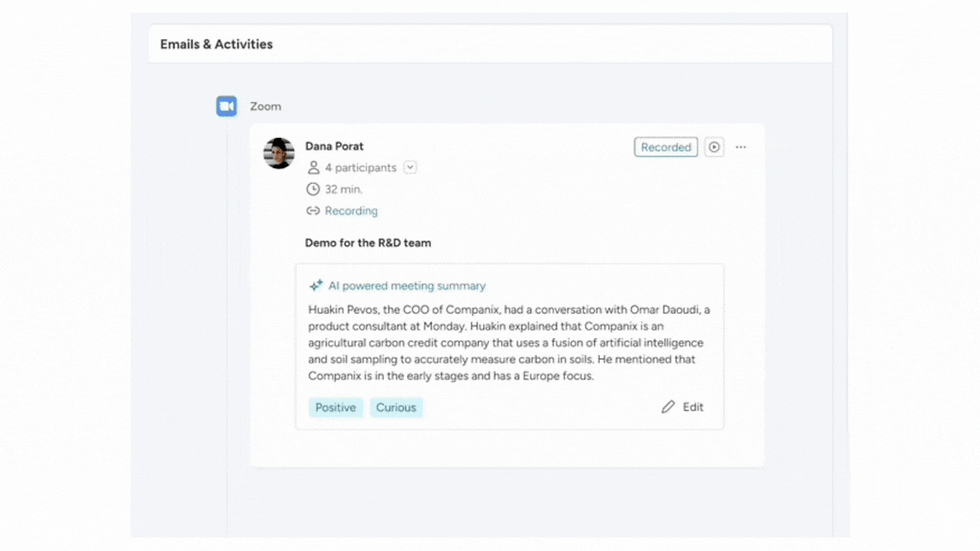
The Zoom integration works with Emails & Activities to centralize information in a client's timeline. When you integrate with Zoom, the following information will be pulled into the timeline:
The name of scheduled and past Zoom meetings that you hosted with the client
The names of all meeting participants
The time and length of the meeting
When enabled, a link to the meeting recording
When enabled, the meeting transcript
Set up the integration
1. Open the Updates Section. To set up the integration, open monday CRM and locate the board where you use Emails & Activities, typically your Contacts or your Leads board. In the board, open the Updates Section:

2. Emails & Activities settings. Once in the Updates section, open your Emails & Activities settings:

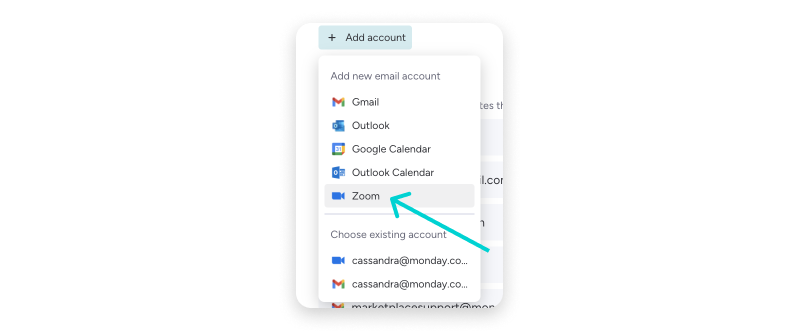
3. Add account. In the "Account setup and privacy" section, select "+ Add account":

Then, choose "Zoom" from the menu:

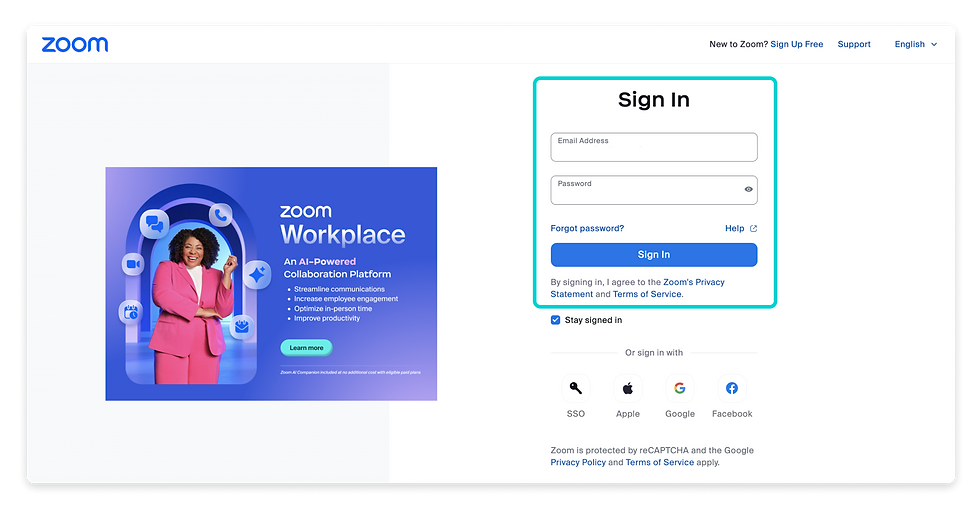
4. Connect your account. On the next screen, enter the credentials for the account that you would like to connect and click "Sign in":

You will be redirected to a page that outlines the connection between monday.com and Zoom and asked whether you would like to allow or decline the connection. Review the permissions, and select "Allow" if you agree:

5. Confirm your connection. Upon acceptance of the terms, you will be redirected back to the Updates Section on your board. You can return to the settings to confirm that your Zoom account is now connected.

That's it! Your integrated timeline is ready to go.
Meetings
A meeting will appear on your timeline if:
you are the host and the item's contact email is an attendee
you have joined a meeting hosted by your Zoom account

If you would like meetings where your Zoom account is an attendee to show on the timeline, you must integrate Emails & Activities with your Google Calendar. When you are invited to attend a meeting with a Zoom link via your calendar, the meeting will appear on your timeline.
A meeting will not appear on the timeline if:
the item's contact was an attendee and the scheduled meeting was deleted
the item's contact was an attendee and the item's contact was later removed as an attendee
Recordings and transcripts
Recordings
For a recording link to appear in your timeline after a meeting has concluded, you must record your meeting to the cloud. Locally saved recordings will not appear in Emails & Activities.
To learn more about how to enable cloud recording, please visit the "Enable cloud recording" article on Zoom's support site.
Transcripts
Transcripts will only appear if a meeting was recorded to the cloud. To enable audio transcripts and thus the ability to view transcripts on your Emails & Activities timeline, log into your Zoom account and visit:
Your account
"Settings"
"Advanced cloud recording settings"
And tick the "Create audio transcript" box

If you do not wish to have transcripts appear on your timeline, disable this setting by unticking the box. You can also choose to not record your meeting.
Who can access recordings and transcripts?
Anyone with permission to view an integrated zoom account's meetings will be able to access the recording and view the transcript. Those with permission will be required to sign in to Zoom before viewing the recording.
To learn more about how to set viewing permissions for your integrated account, check out the "Permissions" section of this article.
AI Companion summary
If you're using Zoom's AI Companion to summarize your meetings, your summaries will also sync with your Emails & Activities timeline.
Enabling summaries
If you haven't already enabled Zoom's AI Companion summaries, you can enable summaries by signing into your Zoom account and going to:
Your account
"Settings"
"AI Companion"
And scroll down to the "Meeting summary with AI Companion" section

You may need your admin to alter these settings for you. If you do not wish to have AI summaries for your meetings, disable this setting by unticking the box or reach out to your admin.
To start a summary within your meeting, click AI Companion and choose "Start summary":

Edit & use summaries
Once your summary has posted to your Emails & Activities timeline, you can edit it:

The summary can also be used in follow-up emails:

Or just kept on hand for you and your team!
Who can access meeting summaries?
Anyone with permission to view an integrated zoom account's meetings will be able to access the summary.
To learn more about how to set viewing permissions for your integrated account, check out the "Permissions" section of this article.
Permissions
To adjust the permissions for your Zoom integration, open your Emails & Activities settings. Open the connections menu using the three dots to the left of your connected account and select "Share options":

From here you can alter who can see meetings and transcripts related to your connected account by selecting "View only" or "Cannot view":

Remove the Zoom integration
From your CRM settings
To remove an account, open your CRM settings:

Locate the account you want to remove under "My accounts", open the three dot menu to the right, and select "Remove account":

From your Zoom account
If you no longer want your Zoom account to appear as an option in the Emails & Activities settings, you can remove the Zoom connection from Emails & Activities entirely. When you remove the connection, any meetings or transcripts that have been added to the timeline will remain in your timeline. Removing the connection only stops the sync for any events that you may create in the future.
Follow these steps to remove the Zoom integration:
1. Log in to Zoom
2. Click this link to open the monday.com app page in Zoom marketplace

3. Scroll to the bottom of the page until you see the "Manage" section and click "Remove":

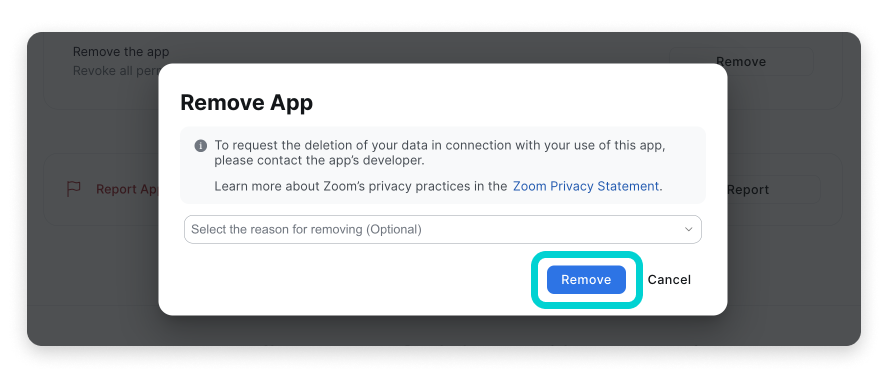
4. If you'd like to, select your reason for removing the app from the drop down menu. Select "Remove":

5. The following confirmation will pop up once the removal is complete:

Who can use this feature:
monday CRM users
All monday CRM Standard, Pro, and Enterprise plans
💡 Stay tuned for more updates in the future!
👉👉Start your free trial with us today: www.achievan.com/mondaydotcom


Comments